For Maximum Bathroom Storage, This DIYer Turned a $100 Dresser Into a Vanity
Who said wood and water can’t mix?
Published Dec 2, 2021 1:03 AM
We may earn revenue from the products available on this page and participate in affiliate programs.
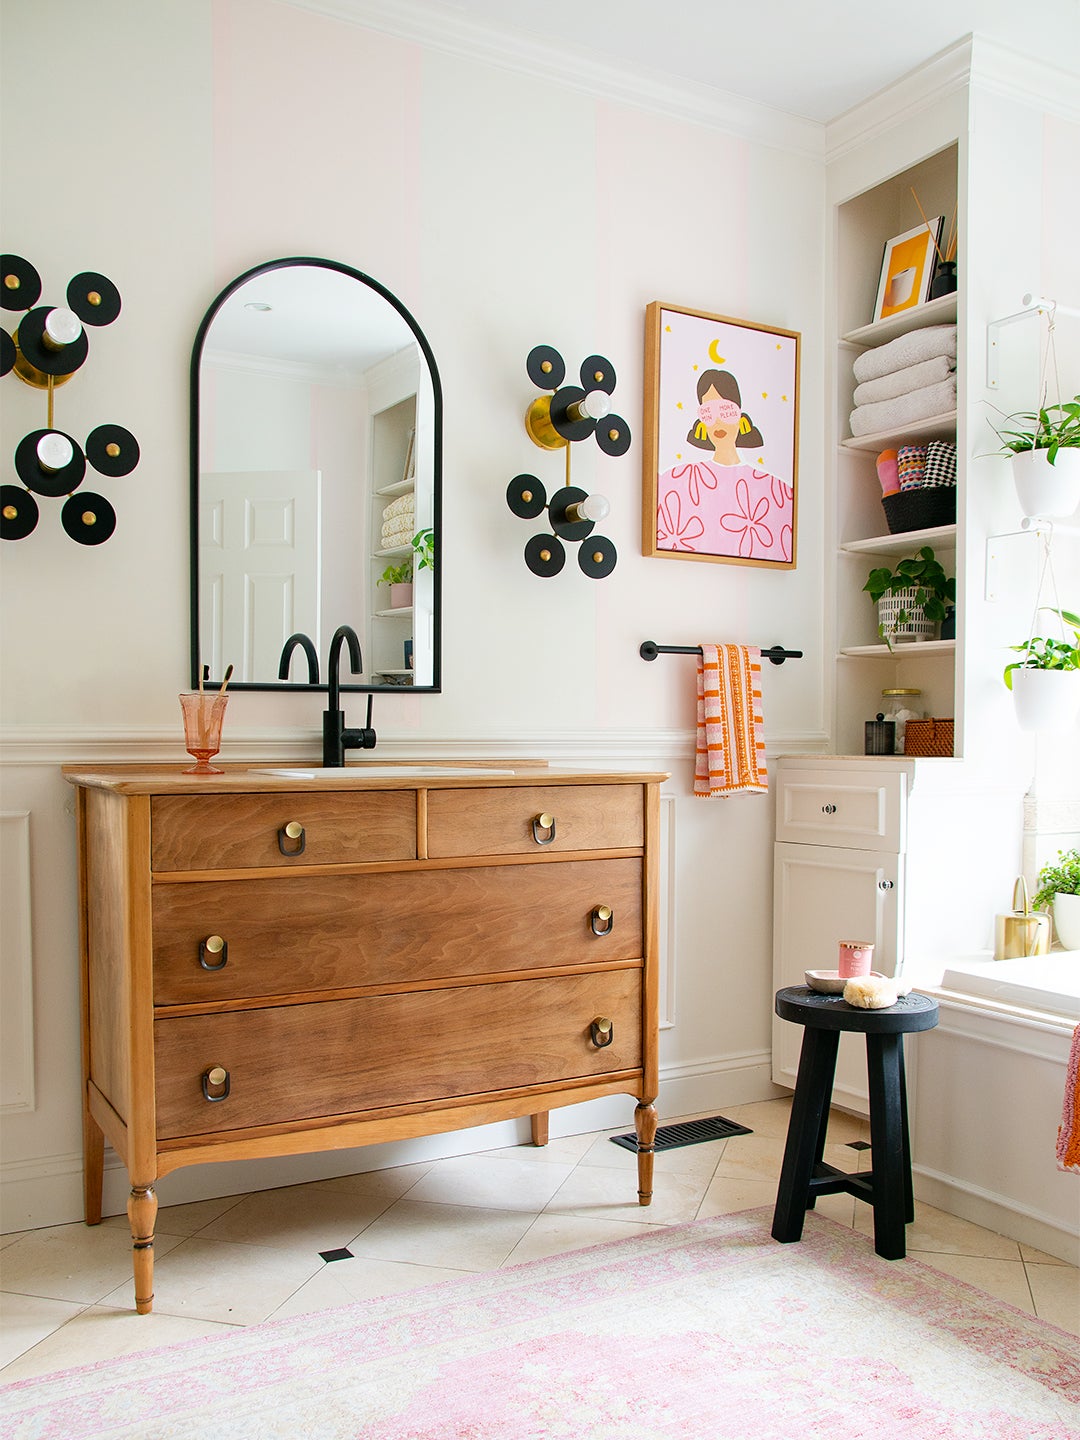
A gut renovation of any size can get expensive fast. Unwilling to shell out the funds for a full bathroom overhaul just because she hated the dated tile, blogger Charlotte Smith (of At Charlotte’s House) opted for a different (and less invasive) approach: replacing the bathroom vanity. A wood piece would help the warm-toned travertine flooring not stick out so much. Plus the all-white space currently had a pedestal sink with no storage—not ideal for the already small primary bath.
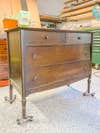
Smith didn’t want to settle on something that was just okay, and no furniture company made what she was looking for within her price range, so she took matters into her own hands—literally. After finding a cheap antique dresser online that was the exact same height as the current sink, she got to work reimagining it as a vanity. “It was something I had always wanted to try,” says the pro furniture flipper. “And if it didn’t work, it was only $100.”
The Supplies
- Screwdriver
- Sandpaper
- A/B wood bleach (Smith likes this one)
- Tape measure
- Jigsaw or handsaw
- Wood glue
- Clamps
- Sealant
- Silicone sealant
- Clean rags
Step 1: Remove Hardware and Prep
Like any good thrifted find, there’s bound to be a little dust and debris on your dresser. Before starting on the revamp, remove all hardware (don’t lose it!) and give the piece a good wipe-down with a rag and a wood-safe cleaner (we like this one).
Step 2: Sand It Down
Sand down the entire dresser until the surface is smooth and the top layer of stain or finish is gone. Smith used an electric sander, but by hand is totally fine, too—it will just take longer.
Step 3: Time to Bleach (and Sand Again)
Wanting the dresser-turned-vanity to lean more rustic than colonial, Smith applied a wood bleach to lighten the grain in lieu of painting or staining it. Follow the product’s instructions, and please don’t use regular bleach. “Normal bleach will lighten whatever is on the surface of the wood, rather than the wood itself,” explains Smith. After the allotted time, wipe off a small portion of the solution with a clean rag or sponge to gauge progress, just like dyeing hair. If the color is to your liking, remove the rest and sand the entire surface again until it is smooth to the touch.
Step 4: Cut It Out
After measuring your sink twice (or three times, to be safe), cut a hole in the center of your vanity to match using a hand or jigsaw. If your sink doesn’t come with the faucet and hardware attached, don’t forget to account for the extra hole(s) at the top end.
Step 5: Retrofit the Drawers
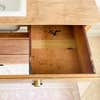
In order to maximize storage, Smith saved as much drawer space as possible. The easiest way to fit the future plumbing is to leave the drawer fronts alone and reconfigure the drawers themselves. Remove the right-hand drawer and carefully cut off its left side (the one facing the center of the vanity) with your saw. Reposition the removed side so it sits in the middle of the drawer, or as far in as needed to make room for the pipes. Use wood glue and clamps to reattach the piece’s ends to the drawer’s front and back. Then trim the drawer’s floor with the saw (or box cutter if the material is thin enough) so it is flush with the new placement of the left side. You’ll be left with a box that’s about half the width of the drawer front. Repeat with the left-hand drawer. The shallower the sink, the less you’ll need to trim the width.
Step 6: Seal It Up
Wood doesn’t like to get wet, “but here’s the thing, boats are made from wood; it’s all in the sealant,” Smith says, laughing. Using a standard polyurethane variety is fine if you already have it. But for longevity, she recommends Master’s Armour sealant with an added hardener by the same brand, which she picked at her local paint store. Apply with a paintbrush in thin, even coats, following the direction of the wood grain. Three coats offer maximum durability (the combo essentially creates an epoxy-like finish).
Step 7: Install the Sink
Run a thick line of clear silicone adhesive around the border of the hole you cut for the sink. Drop the sink in; it’s as easy as that. If any of the glue oozes out, simply wipe it away with a rag or sponge. Repeat with the faucet and handles if those are separate. Then all that’s left is the plumbing (which Smith insists is easier than construction). The install process can be learned via a YouTube search, and Lowe’s also has an easy-to-follow guide. Before the kids get home from school, Smith recommends sitting on the floor and basking in the glory of all your hard work.


