No-Dig Gardening Is as Low-Maintenance as It Sounds—And It’s Good for the Earth, Too
Plus more ways to embrace your inner rebel gardener.
Published Apr 28, 2023 6:09 PM
We may earn revenue from the products available on this page and participate in affiliate programs.
Did you know cardboard could kill weeds for you? It’s just one gardening practice that Alessandro Vitale, a Londoner by way of Italy with a lifelong passion for growing things, champions in his new book, Rebel Gardening: A Beginner’s Handbook to Creating an Organic Urban Garden, for both its regenerative benefits and novice friendliness.
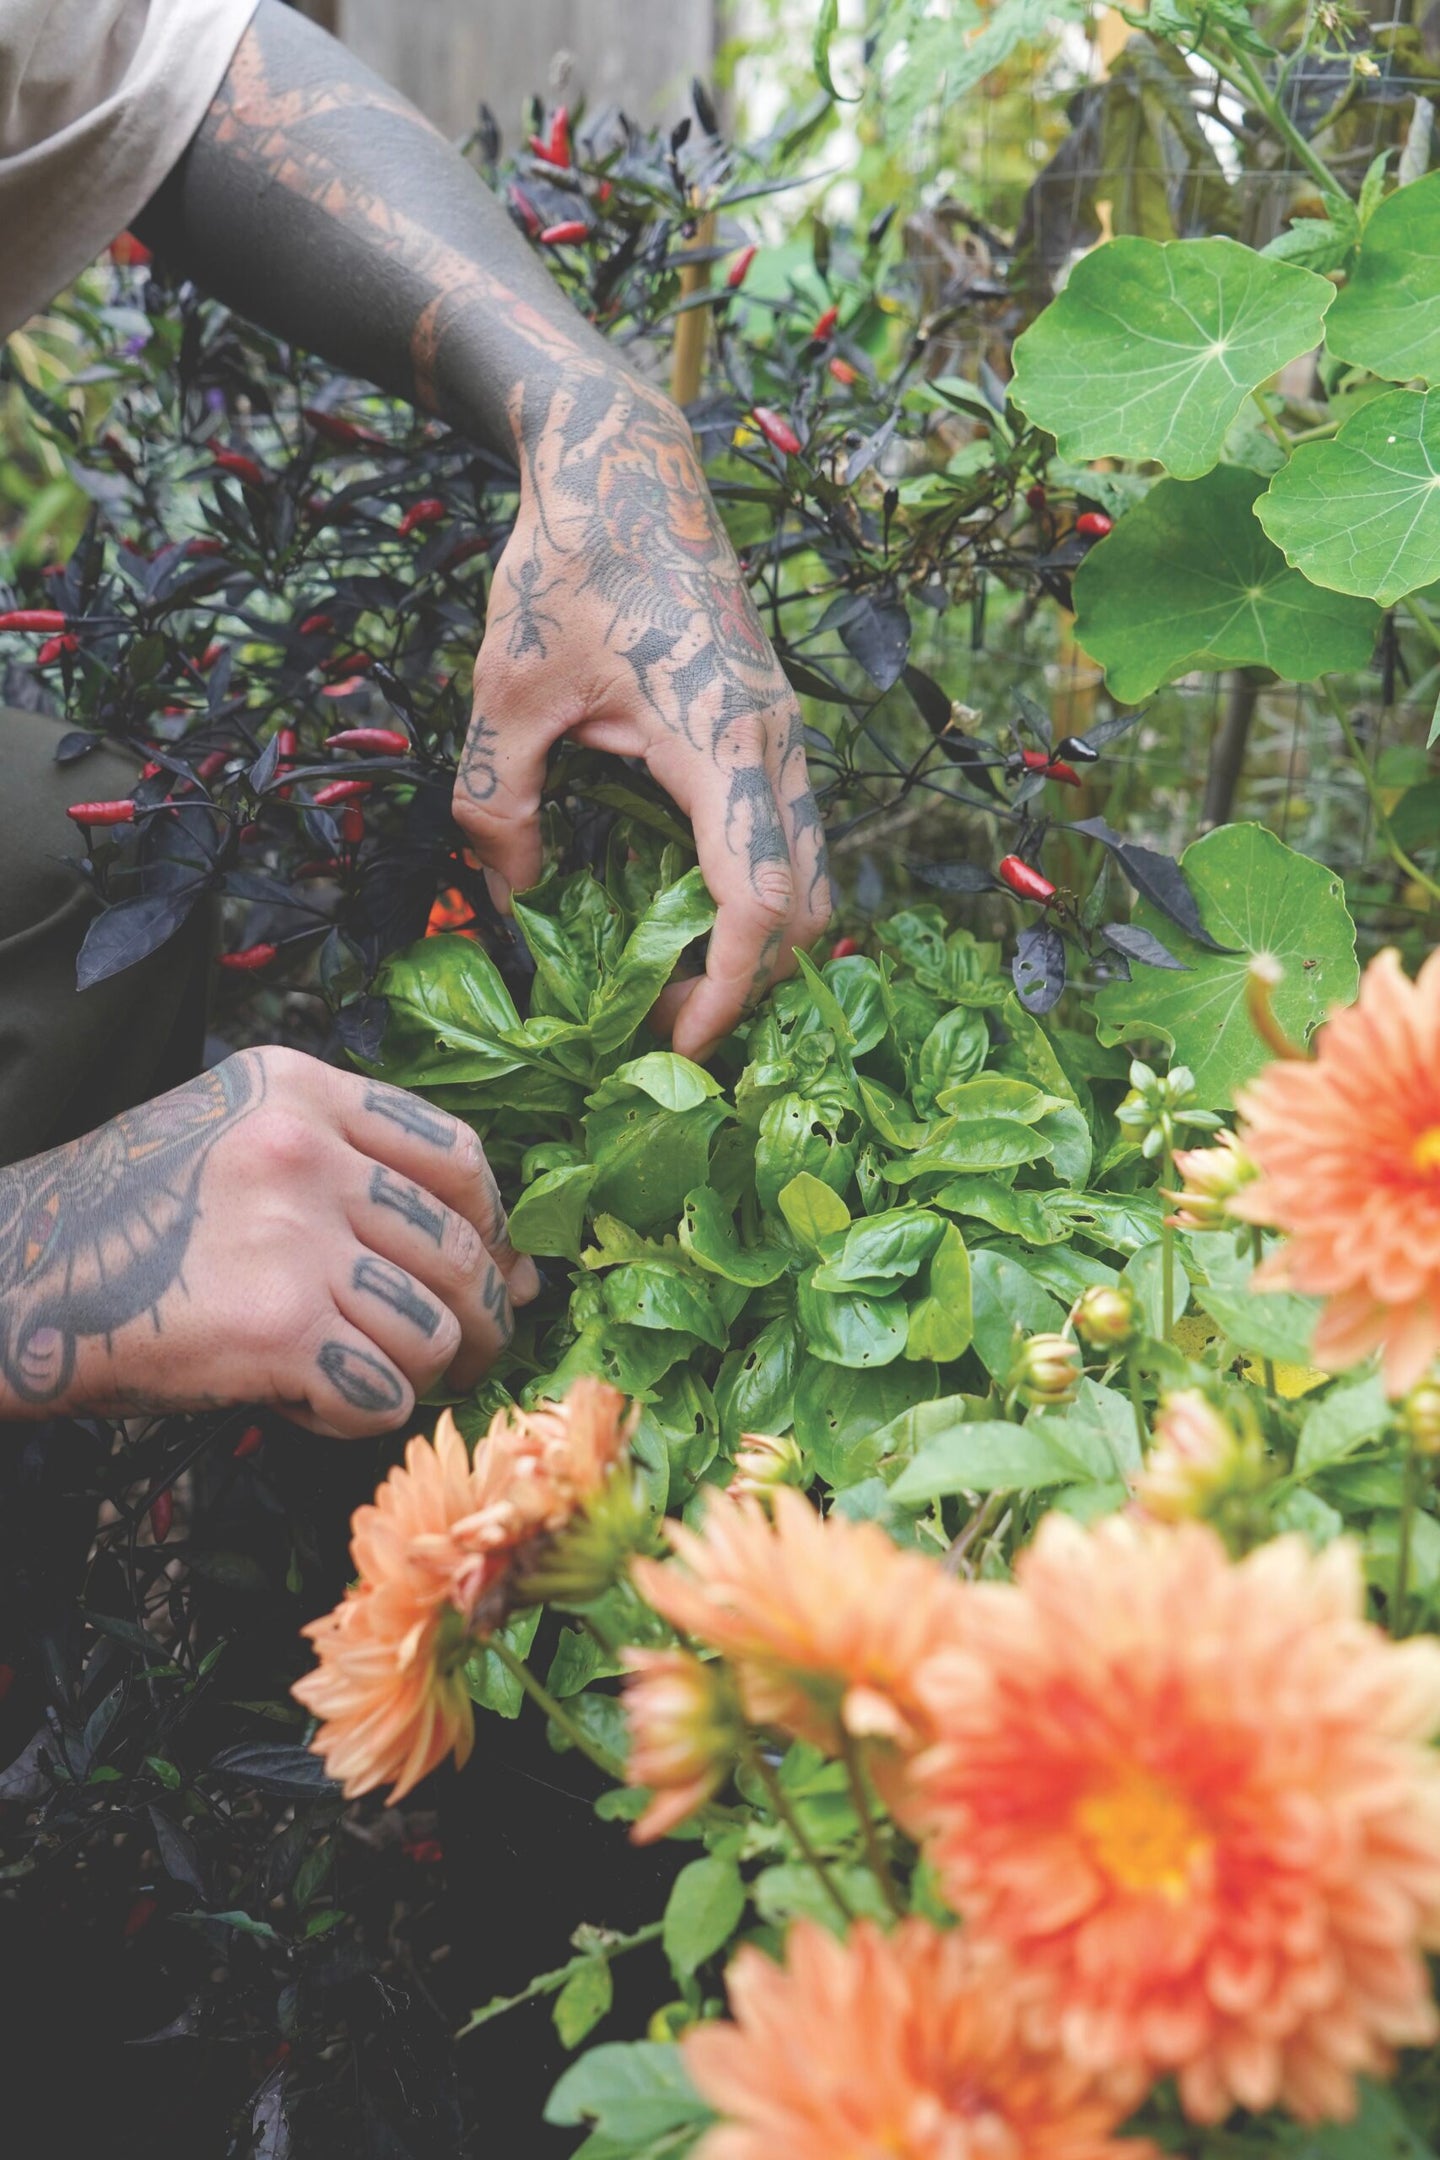
“In modern society, I feel like growing your own food and trying to be self-sustaining is the ultimate act of rebellion!” Vitale writes—hence the book title. It’s also something that can be taken on by anyone, anywhere, he argues, including in a tiny front yard or on an apartment balcony. Vitale should know: His rental’s 26-by-16-foot garden produces enough fruits and vegetables that he doesn’t have to shop for them anymore, and that’s without the help of chemical fertilizers or tilling the soil.
“I soon learned that using chemicals in the garden not only kills a whole range of insects without distinguishing between good and bad but also makes plants weaker,” he notes. In the excerpt, below, Vitale breaks down his hands-off approach.

As an organic gardener, you can use a variety of strategies in the garden to work with nature and help your plants develop without upsetting the system, while also encouraging natural biodiversity of insects and microbes. Here, I will introduce you to the three main areas of gardening expertise that have together created Rebel Gardening. I have picked parts, techniques, and philosophies from each and combined them to apply them in my garden. Together, they have allowed me to create a place where I can connect and feel at one with Pachamama (Mother Earth).
No-Dig Gardening
One of my main inspirations and gardening heroes is Charles Dowding, who taught me all I know about a method called No-Dig Gardening, where the principles focus on not disrupting the life within the soil.
As Charles says: “There are billions of microorganisms, known as the soil food web, down there, and they create microscopic pathways to transport water and nutrients. It’s those pathways that increase soil’s ability to drain excess water, while also retaining a proper moisture level.” Basically, this method is all about minimizing disturbance of your garden to encourage the soil web to thrive. Any disturbance of your garden forces soil into a recovery period, which affects the natural balance in the ecosystem, and that lack of balance creates good conditions for weeds to take hold.
I have visited Charles’s farm, Homeacres, in Somerset, U.K., many times, and you can see the proof of this method by looking at the pathways in between his garden beds. They are weed-free and drain extremely well even after heavy rains.
Here, I show how to turn any disused space into a garden ready to thrive by first establishing weed-free pathways, then raised beds where you will grow your plants.
Creating Weed-Free Pathways
To apply this method to your growing space, if you have a lawn or weeds all over the ground, just put a layer of cardboard on top of it, making sure that the cardboard doesn’t have any tape on it (if you’ve reused a delivery box, like me, for example!). Ink should be fine, as in most cases it is vegetable ink on brown cardboard and not shiny as it often is with bits of plastic.
The cardboard acts as light exclusion for weeds on the ground, which will slowly die. The weed will decompose in a few months and the roots of the plants planted over it will just penetrate the cardboard and feed on the nutrient-rich substrate underneath. When you apply the cardboard, if you add two pieces or more, make sure to overlap them so you don’t leave gaps. If you don’t have any weeds and your soil is almost clean, you don’t need cardboard!
Also, make sure to create an edge around your garden beds so you don’t risk weeds coming back on top of the beds. You can top up this edge two to three times and you won’t need to remove the cardboard as it will just decompose in about two to three months.
Add a Raised Bed
You can now place a DIY raised bed on top of the layer of cardboard.
- Begin by adding a layer of less-decomposed compost (see Note, below), which is less mature and less rich in nutrients, to a raised bed. Alternatively, you could add a mix of mushroom compost, mature horse manure and/or store-bought compost.
- Add another layer of well-matured compost, tamping it down by walking over it to make sure it’s firm. While walking on it, you won’t have to worry about compaction because the soil is strong enough to support the construction.
- You could also top up with a thin layer of topsoil if needed.
- Remove the raised bed sides once the compost has settled to prevent slugs from hiding in the pocket of air that is created between the compost and the sides.
- In roughly six to eight months, the compost level in your raised bed will fall because microorganisms eat organic waste and excrete nutrients into the soil.
- At the beginning of each growing season, spread a thin coating of compost over the entire raised bed to provide new organic matter for the microorganisms and protect them.
The compost is organic matter that is always disintegrating, and micro- and macroorganisms are eating it and excreting more nutrients than they would otherwise if you had disturbed and disrupted these creatures’ activities and the natural balance.
Note: If you don’t have less decomposed compost, you can use mature compost. All you have to do is add compost to your raised beds once a year, and that’s all.
The soil will also increase the moisture retention capabilities so you won’t have to water as much as in normal garden beds. The beauty of this method is that you can start planting your plants straightaway and start growing your own food as soon as you make your garden bed.
From Rebel Gardening: A Beginner’s Handbook to Organic Urban Gardening, © 2023 by Alessandro Vitale. Reproduced by permission of Watkins. All rights reserved.


