The Brownstone Boys Reveal Their “Secret Sauce” for Stripping Away Sad Paint and Varnish
Including the tool they use to get into intricate crevices.
Published Mar 3, 2023 1:45 AM
We may earn revenue from the products available on this page and participate in affiliate programs.
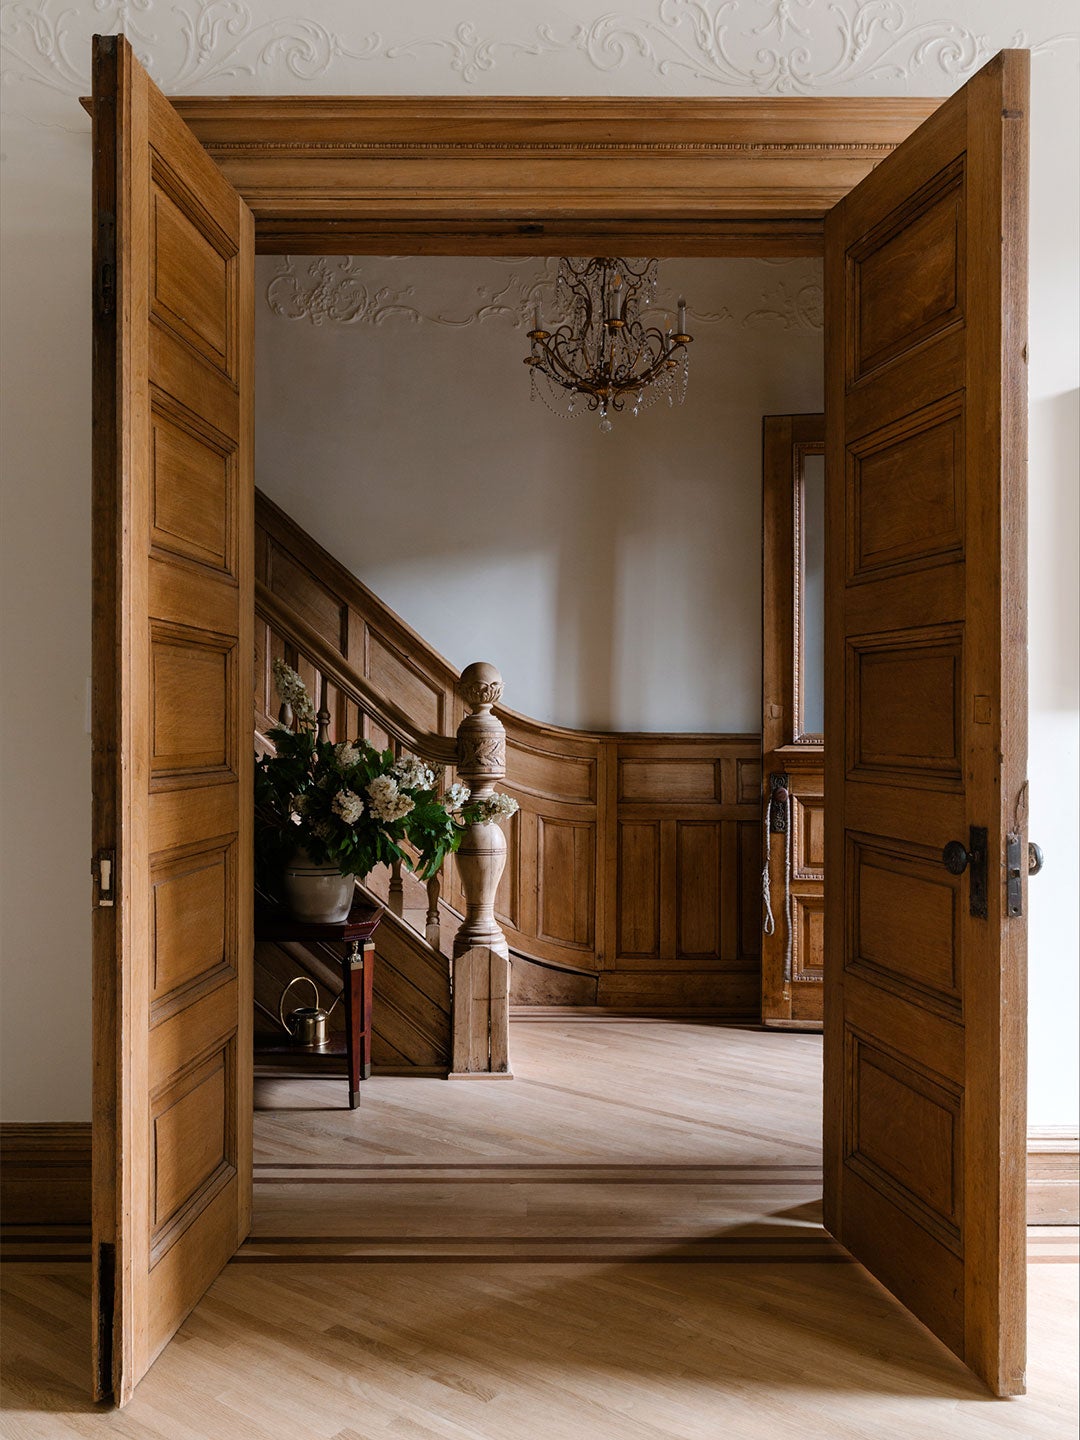
When Barry Bordelon and Jordan Slocum, the seasoned renovators known as the Brownstone Boys, want a glimpse into a home’s history, they whip out their heat gun, run it across any painted wood surfaces, and watch layers of other people’s design decisions peel away. “One second everything might be white, and then you get slices of a crazy blue, pink, green, and maybe white again,” says Bordelon. Assessing the condition of those timber elements is the first thing they do on any project. So many of the 100-year-old-plus brownstones Slocum and Bordelon work on feature elaborate window casings or intricately carved handrails, and most of the time they’ve been swathed in dark varnish or covered in globs of paint during past renovations. Stripping everything back to its natural state helps set the tone for the rest of the remodel, and you could say they’ve perfected the art. Ahead, the pair reveal their recipe for restoring wood back to its original glory.
Step 1: For Paint, Get Heated
Where paint is involved, the designers have a heat gun at the ready. The tool’s superhigh temperature loosens up any caked-on coats. The key is to not hover over an area for too long: Once you see the top begin to bubble, keep it moving and slowly work your way across the surface. “It’s a very slow and tedious process,” notes Bordelon.
Step 2: For Varnish, Coat It With the “Secret Sauce”
If you’re tackling a large area that has clearly been stained with a liquid varnish, using chemicals is the fastest and most efficient option. “Barry and I learned the hard way that for the size of the projects we work on, we need the ‘good stuff.’ That’s the unfortunate side of things,” shares Slocum. The product the Brownstone Boys swear by? Benco’s B7 stripper. When using a liquid varnish stripper like this one, it’s crucial that you suit up in the proper protective gear—that includes wearing a respirator and thick gloves so you don’t inhale or come into direct contact with the formula. After applying the remover (available online and often in specialty paint shops), the pair recommend letting it sit for 10 to 15 minutes.
For intricate features like window shutters, which can be difficult to tackle because of their hinges and individual slats, Slocum and Bordelon will remove them and have them dipped in a vat of stripper off-property.
Step 3: Chisel Away to Reveal Your Masterpiece
Cue the soothing part of this process: scraping off the melted paint chunks or peeling varnish with a metal putty knife. Once you’ve done that, get rid of any lingering residue by applying denatured alcohol with a sponge. Then scrub the surface with a steel wool pad to get into any tight crevices. Bonus: These steps work on stone, too. “We’ve stripped marble fireplace mantels that had similarly been painted over,” notes Bordelon.
Step 4: Welcome Your Wood Back to Reality
The wood will likely look and feel raw after you’ve pared it back, so Bordelon recommends lightly sanding it afterward to achieve a silky-smooth texture. Once any other renovations in your home are complete, it’s time to seal it. Slocum and Bordelon prefer tung oil in a matte finish or a clear water-based polyurethane—it protects the wood while allowing the original tone to shine through. (Psst: If you are doing this to areas exposed to the outdoors, you’ll want to rely on a marine-grade finish.) “When you see beautiful craftsmanship returned to a home, it’s just so special,” shares Slocum. “It’s like you’ve brought that history back inside.”


