Your Next Outdoor DIY: A $600 Pool With Its Very Own Modern Deck
No need to dig a hole in the ground.
Updated Oct 11, 2018 3:56 PM
We may earn revenue from the products available on this page and participate in affiliate programs.
For hands-on advice from designers and pro DIYers, plus more scrappy before + after transformations, subscribe to Reno. Let your inbox do all the hard work—for now.
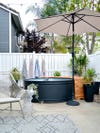
Upon stepping into SoCal-based designer Bri Moysa’s backyard, it’s easy to forget that she and her family live in a 1980s condo. Over the years, Moysa has been slowly chipping away at any signs of the home’s dated roots, including the patio, which was essentially just a slab of concrete with a dirt border. Some landscaping and furniture definitely helped, but when Moysa spotted Arrows and Bow blogger Ashley Petrone’s outdoor setup, she got to thinking about a pool. “When summer comes around, I still have to work,” says Moysa. “I wanted my kids to have something to do without having to leave the house.”
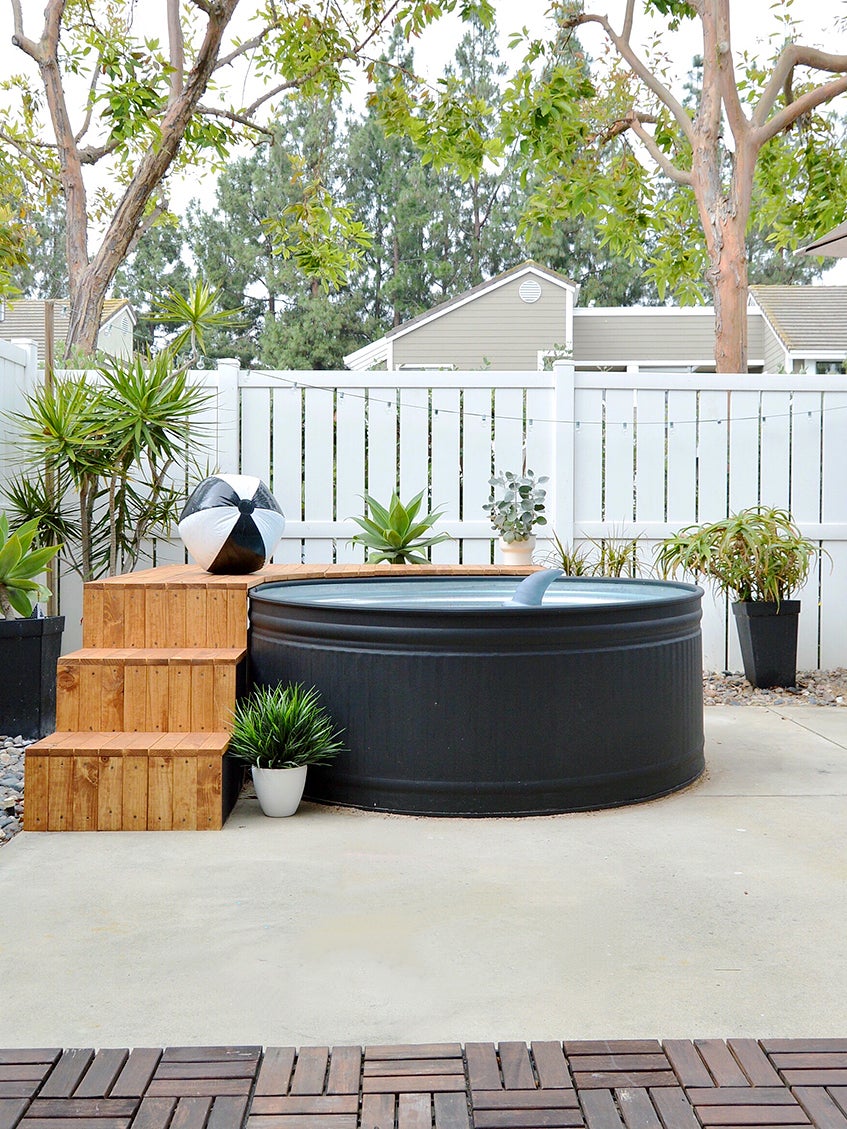
Rather than dig a giant hole in the ground or settle for a wimpy inflatable option, Moysa and her husband bought a galvanized stock tank for $290 and a pump for around $130 and made their own swimming pool. To make it feel like the real deal, they built a 2-foot-high deck for $175. “You don’t always want to be submerged in the water—it’s a place to sit and dip your feet in,” explains Moysa. Here, the designer reveals how they turned the chunk of metal into a modern oasis on a $600 budget.
Step 1: The Paint
When the tank arrived at the house, Moysa immediately knew she wanted to paint it. “Right away, my daughter said it looked like a giant cake pan,” she says, laughing. Moysa opted for a black stain-blocking exterior paint and primer by Behr Ultra. The product is meant to be used on metal and aluminum outdoor surfaces, so it resists rust and mildew. She applied two coats, using a small hand roller for the middle section and a sponge brush to get into the grooves around the edges.
Step 2: The Frame
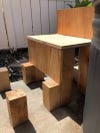
After leveling the ground with sand, Moysa and her husband got to work on the deck’s base using 4-by-4s that were left over from a previous project. The U-shaped components are made up of one short horizontal plank and two vertical pieces and attached with long wood screws. The process was a tedious one: Each piece of wood had to be slightly different so the surface would truly be flat. “Being off by a quarter of an inch here and there might not seem like a lot, but any discrepancy would have caused the deck to not look straight,” says Moysa. In the corner by the tank, they added a few extra stand-alone supports before placing 2-by-4 beams along the top.
Step 3: The Steps
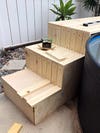
With the same 4-by-4 planks they used for the rest of the framing, the couple built the base for the stairs. Then they cut ¾-inch-thick plywood sheets to make the 12-inch-long treads and 8-inch risers. The process definitely requires some math skills, Moysa admits, but for never having built steps before, she says, “If we can do it, I feel like anybody can.”
Step 4: The Deck
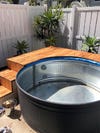
The wider the planks the more traditional a deck can look, so for this project, Moysa opted for 1-by-3-inch-wide boards. They originally planned to lay the planks along the backside of the pool perpendicular to the step side, but in order for the corner (a prime spot for standing and sitting) to be structurally sound, they decided to run the wood in the same direction. “It was a happy accident,” says Moysa. To get a clean inner edge, Moysa’s husband trimmed the excess pieces with a jigsaw, using the pool’s edge as his guideline.
The tricky part about choosing a stain is that there aren’t a whole lot of options (the opposite problem of picking out a paint color). After one sample turned out too red-orange, Moysa landed on Preserva Wood’s semitransparent, oil-based exterior stain in Tahoma Brown, which she says has faded nicely in the direct California sunlight over the past year.
Step 5: The Water
If you’re taking your stock tank pool seriously, you’re going to want to invest in a pump, suggests Moysa. (The family’s runs for two hours each day and is set on a self-timer, so they never have to think about turning it on.) The couple has never once had to empty the water since filling it up last spring, but they do keep a shark-shaped dispenser filled with chlorine tablets in it to ensure it stays clean. Cue the Jaws theme song.
It’s hammer time: Follow @reno_notebook for easy rental updates, clever DIYs, and tips to nail your next project.
